Sketch To Render

Sketch To Photoreal Render

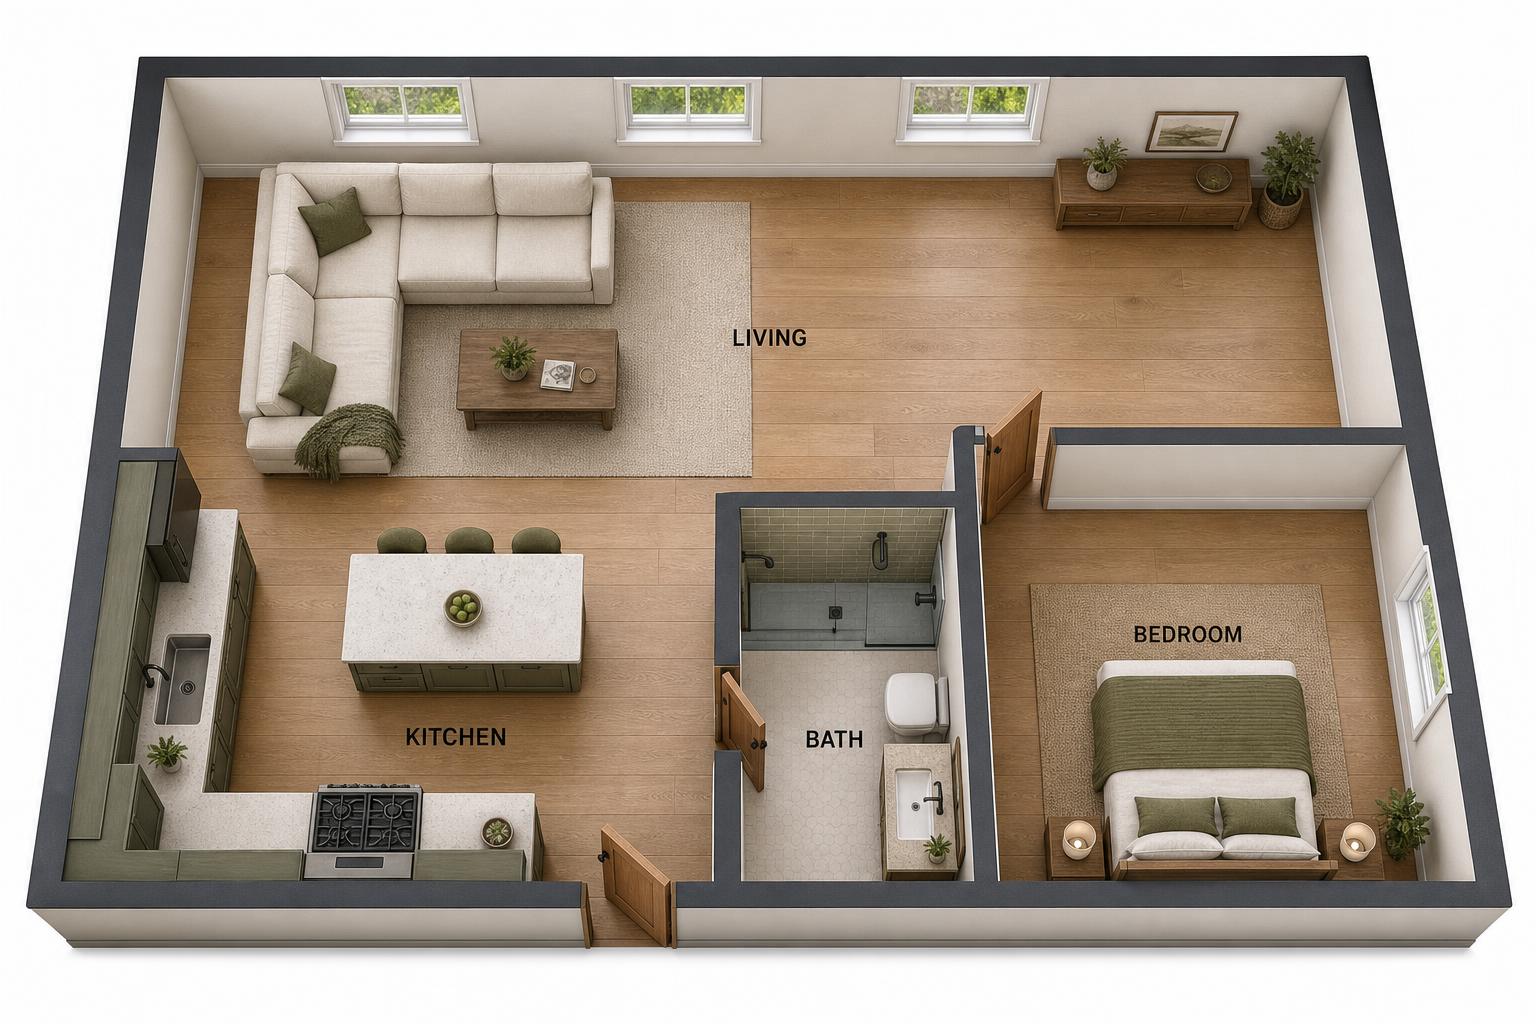
A hand drawing of a layout becomes a furnished, photoreal view of the same room, built to show direction, not to replace a construction drawing.

A sketch to render tool takes a hand drawn floor plan or room layout and produces a furnished, photoreal image of that same space, so you can see what a room reads like before anything is built. The sketch does not need to be professional. It needs to show the walls, door and window openings, and rough proportions of the room clearly enough for the layout to be read correctly. What comes back is a visual direction for finishes and furniture placement, not a construction drawing, and it will not carry dimensions accurate enough for a permit set or a framing crew.

This distinction matters because a render can look finished enough that it is tempting to hand it straight to a contractor as if it were a drawing. It is a picture of an idea sitting on top of your rough layout, useful for deciding on a direction with a client or for yourself, and it still needs a licensed drawing behind it once you are ready to build.

Reality LockBudget-First GenerationContractor-Ready Scope

Start Redesigning Your Space

Reality Lock keeps your walls, windows and layout exactly where they are. Only the design changes.

1Upload Your Space
2What Are You Redesigning?
3How Far Are You Going?

1 Free Design · No Credit Card · No Account

Same Space, Priced

One Photo In. A Plan Out.

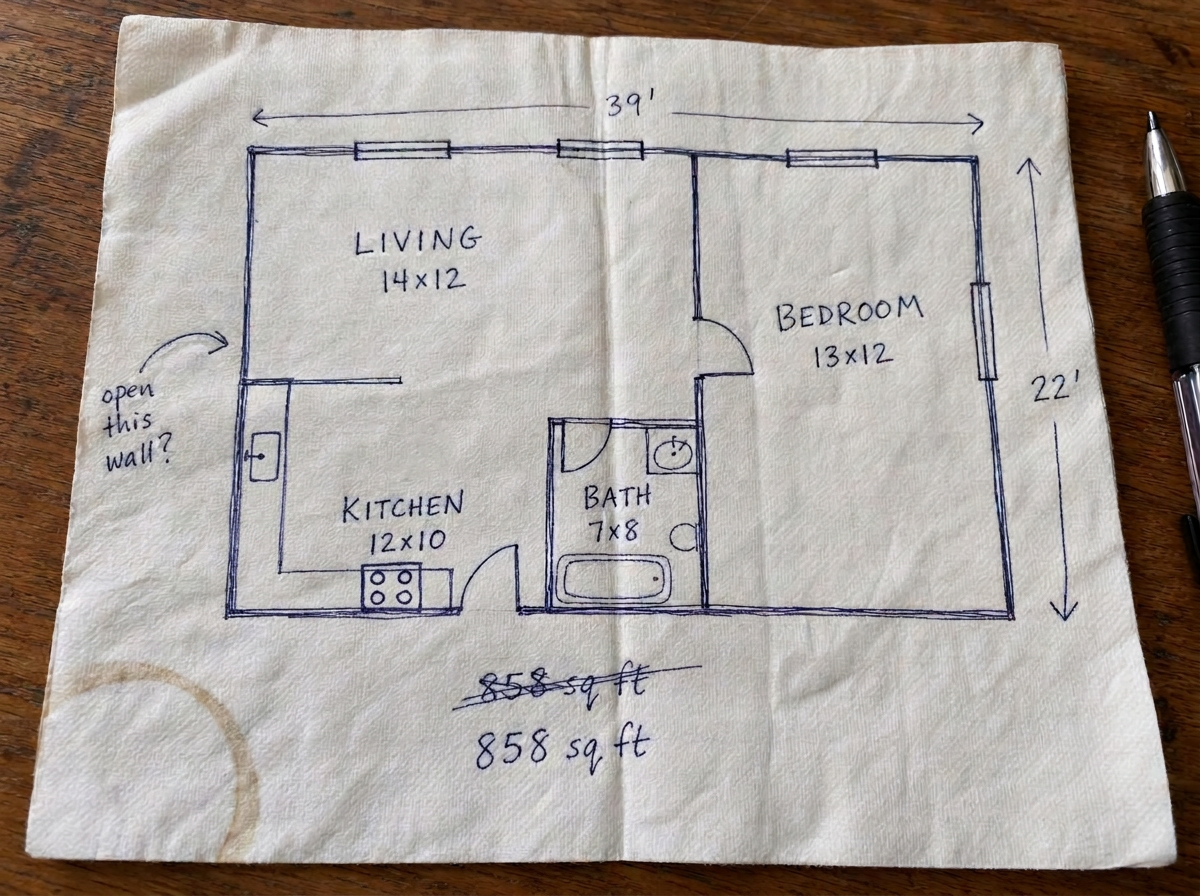
Hand drawn sketch showing walls, openings and rough room proportions.
Before Hand drawn sketch showing walls, openings and rough room proportions.
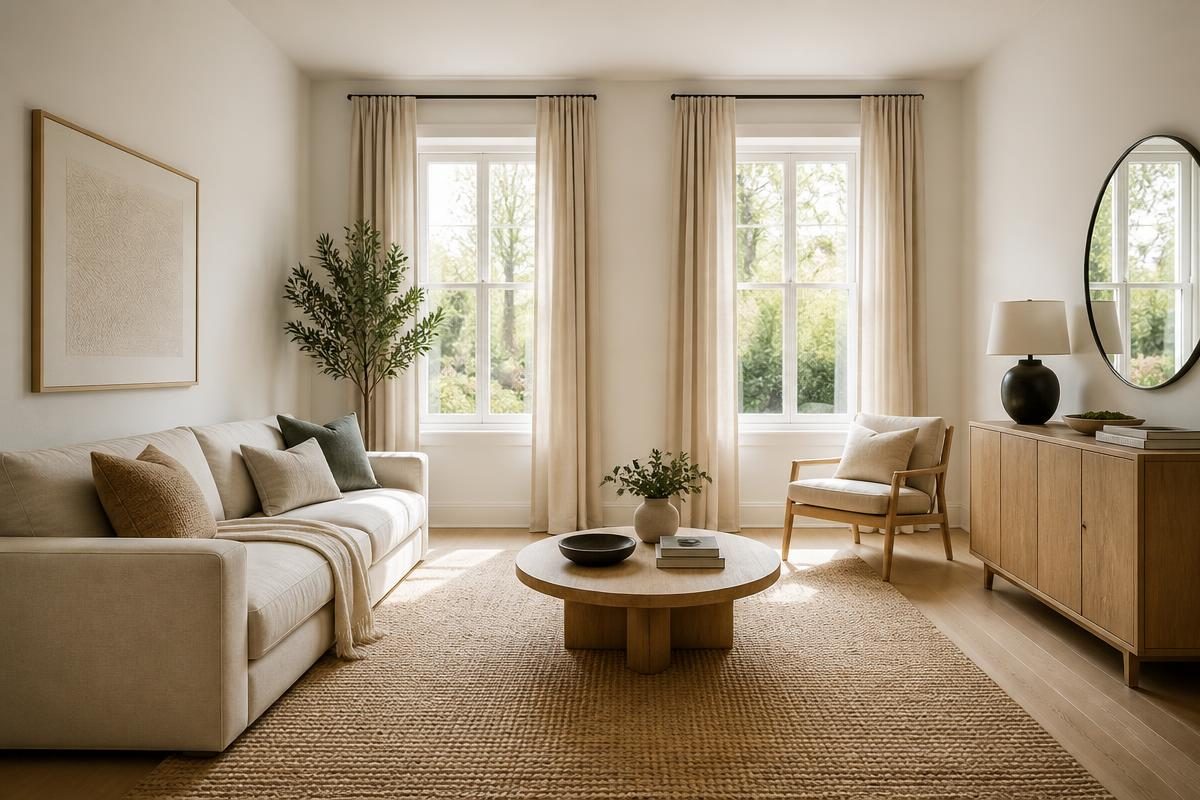
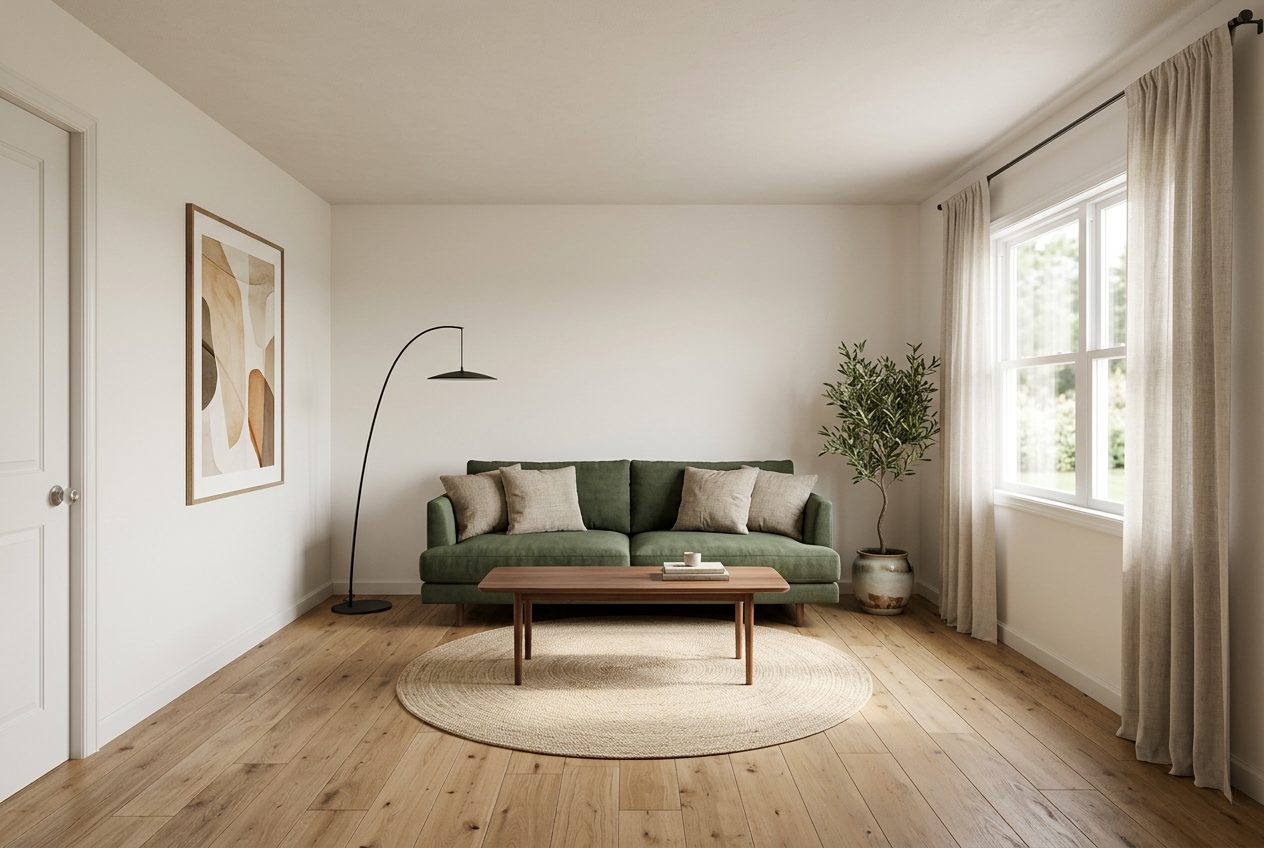
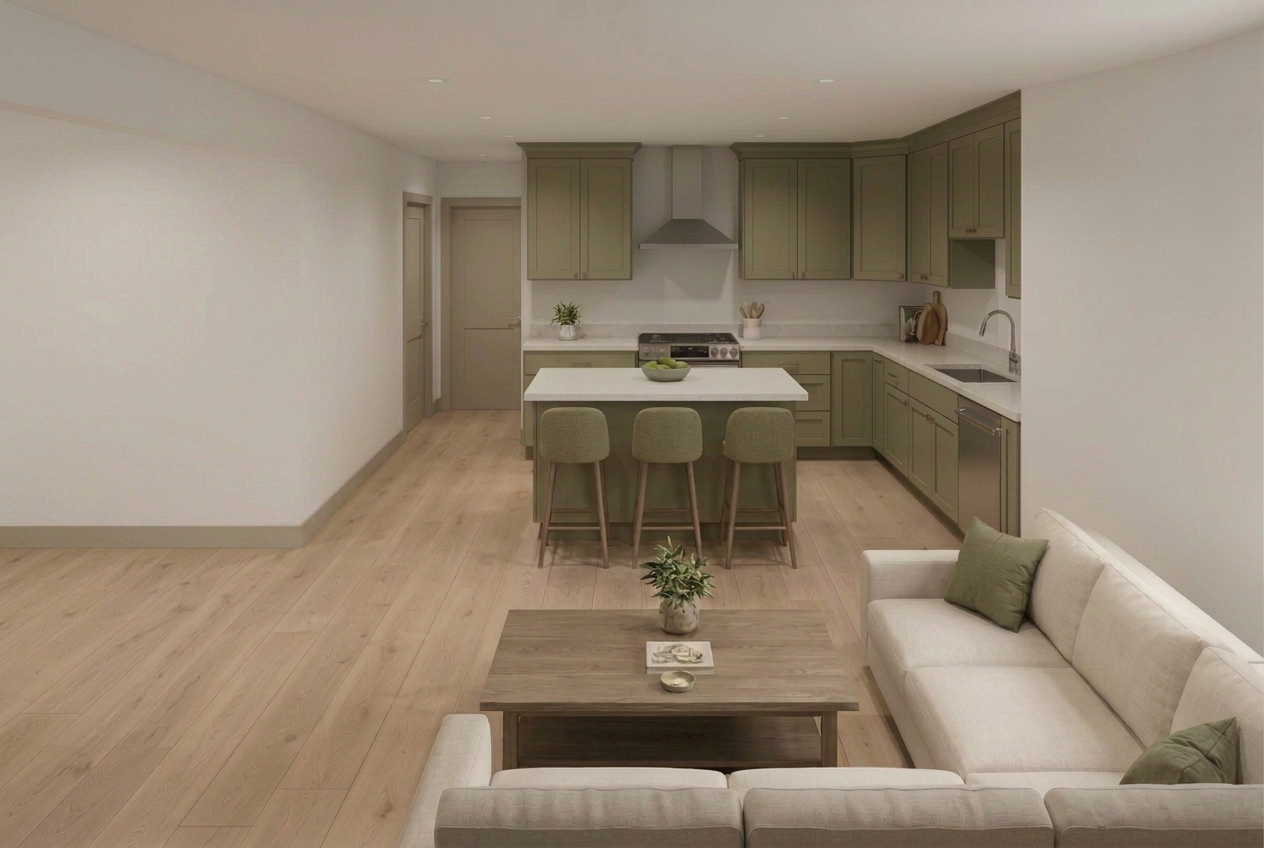
Photoreal furnished render generated from the same layout.
After Photoreal furnished render generated from the same layout.
How It Works

Three Steps, One Running Total.

01

Draw The Layout

Sketch walls, door and window openings, and label rough dimensions if you have them.

02

Set Style And Budget

Pick a design style and a budget band so the render furnishes the room at the right level.

03

Review The Render

Use the photoreal result as a direction to discuss with a client or contractor before drawings are made.

Step By Step

How To Turn A Sketch Into A Photoreal Render

  1. Draw The Room Outline

    Sketch the outer walls of the room, including any interior partial walls, on paper or a tablet.

  2. Mark Doors And Windows

    Show every door and window opening and note its approximate width on the sketch.

  3. Add A Scale Reference

    Label at least one overall dimension, such as the room's total length and width.

  4. Upload The Sketch

    Submit the sketch along with a design style and budget band for the furnishing pass.

  5. Generate Style Variations

    Produce a few style options from the same layout to compare before choosing one.

  6. Move To A Licensed Drawing If Building

    Use the render as a direction, then commission a licensed drawing before any construction work.

Budget And Scope

Sample Sketch To Render Project Cost Table

Planning range for turning a hand sketch into a furnished render set for a single room, high confidence because these are software costs, not construction costs.

Estimated Planning Range$850 to $3,690
Pricing ConfidenceHigh
Line ItemTradeQtyPlanning Range
Sketch To Render ConversionRendering1 Room$15 to $45
Additional Style VariationsRendering3 Variants$20 to $60
Furniture Shopping List ExportSourcing1 LS$0 to $25
Walkthrough Video Add-OnRendering1 LS$15 to $40
Printable Client PresentationPresentation1 LS$0 to $20
Licensed Drawing For PermitArchitecture1 Room$800 to $3,500

Software rendering costs are per project, licensed drawing figures shown separately as an illustrative planning range only.

From Hand Drawing To Render

The process starts with the same sketch most people already make when planning a room, a rough top-down layout showing where the walls sit, where the door and windows are, and roughly how big the space is relative to itself. That sketch gets read as a layout, walls become walls, openings become doors and windows, and the render fills the resulting volume with furniture, lighting and finishes matching whatever style and budget band you selected.

What separates this from simply generating a random furnished room is that the render respects the shape you drew. If your sketch shows a narrow galley layout with a window on one short wall, the render will furnish that specific shape, not a generic open room that happens to share a name with your space. That fidelity to your actual layout is what makes the result useful for deciding on furniture arrangement and finish direction rather than just browsing style inspiration unrelated to your room.

The output is a still image, sometimes several style variations of the same layout, so you can compare a few directions against the identical floor plan before settling on one to move forward with.

What A Sketch Must Contain To Be Usable

A usable sketch needs three things clearly marked: the outer walls of the room, the location and rough width of every door and window opening, and some indication of scale, even something as simple as a noted overall length and width. Beyond that, precision is not the goal. A wall drawn slightly crooked or a corner that is not quite ninety degrees will not break the render, because the tool is reading intent, not measuring to the millimeter.

What will produce a poor result is a sketch missing an opening entirely, a doorway left off the drawing that then has no way to be reflected in the render, or a sketch with no scale reference at all, leaving the render to guess whether it is furnishing a small bedroom or a great room. A minute spent labeling rough dimensions on the sketch saves a redo later.

  • Mark every wall, even interior partial walls or half walls
  • Show every door and window opening and its approximate width
  • Note at least one overall dimension for scale
  • Label the room's intended use if it is not obvious from the layout

Scale And Proportion

Getting scale roughly right on the sketch is what keeps the furniture in the render at a believable size relative to the room. A sofa that reads correctly in an 11 by 14 room will look oversized or undersized if the render assumed the room was 9 by 12 because no dimension was marked on the sketch. This is the single most common reason a first render disappoints, not the style chosen but a scale mismatch traced back to an unlabeled sketch.

Proportion works the same way at the level of individual elements. A window drawn taking up half a wall will be rendered as a large window, and a narrow slot drawn near a corner will read as a small one. If your actual window does not match what you drew, the render will not either, so it is worth a second look at the sketch against the real room before submitting it, particularly for walls with more than one opening.

A Direction, Not A Construction Drawing

The finished render is a photoreal image of a furnished direction for the room, useful for choosing a style, arranging furniture, and communicating an idea to a client, a partner, or yourself before spending money. It is not dimensioned to the accuracy a contractor needs to frame a wall, run electrical, or pull a permit, and it should not be handed over as if it were a set of drawings. Wall thicknesses, exact window sizes and structural details are simplified in service of the visual, not measured to code.

Once a direction from the render is chosen, the next step for anything beyond furniture and paint is a licensed drawing prepared by an architect or a qualified drafter, working from actual site measurements. The render's job ends at giving you and anyone else involved a shared, concrete picture to react to, which is often the hardest part of an early planning conversation to get right without spending money on drawings for an idea that might change anyway.
Questions

Answers Before You Start.

Does My Sketch Need To Be To Scale?

Not precisely, but it needs at least one labeled dimension so the render knows roughly how large the room is. A sketch with correct proportions and no scale note will still be furnished, but the furniture size may not match what you pictured. A rough overall length and width fixes most of that.

Can I Get Multiple Style Options From One Sketch?

Yes. The same layout can be rendered in several styles or budget bands so you can compare directions side by side before choosing one. This is often more useful than committing to a single style up front, especially when discussing options with a client or a partner.

Can I Hand The Render To My Contractor As A Drawing?

No. The render shows a furnished direction for the room, not dimensioned construction information. For anything beyond furniture, paint and lighting, you need a licensed drawing prepared from actual site measurements. Use the render to align on style and layout before commissioning that drawing.

What If My Sketch Has An Odd Shaped Room?

The render follows the shape you drew, including alcoves, angled walls or narrow sections, as long as they are marked clearly. Odd shapes generally render fine as long as every wall segment and opening is shown, since the tool is furnishing the actual layout rather than substituting a generic rectangle.

How Many Sketches Can I Submit For One Project?

There is no fixed limit tied to the sketch to render process itself. Most people submit one sketch per room and generate a few style variations from it, since comparing variations of the same layout is usually more useful than sketching several different layouts for the same space.

Pricing

Pick The Plan. Keep The Number.

Annual pricing shown. One credit balance across every tool, and we meter credits, not people.

Free

$0/mo

5 credits a day, typical budget range

Start Free

Starter

$7/mo

200 credits a month, clean HD

Choose Starter
Most Popular

Pro

$10/mo

2,000 credits a month, commercial license

Choose Pro

Studio

$13/mo

4,000 credits a month, unlimited seats

Choose Studio

Turn Your Sketch Into A Photoreal Room

Upload a hand drawn layout and see it furnished in your chosen style before you spend money on drawings.

Render My Sketch